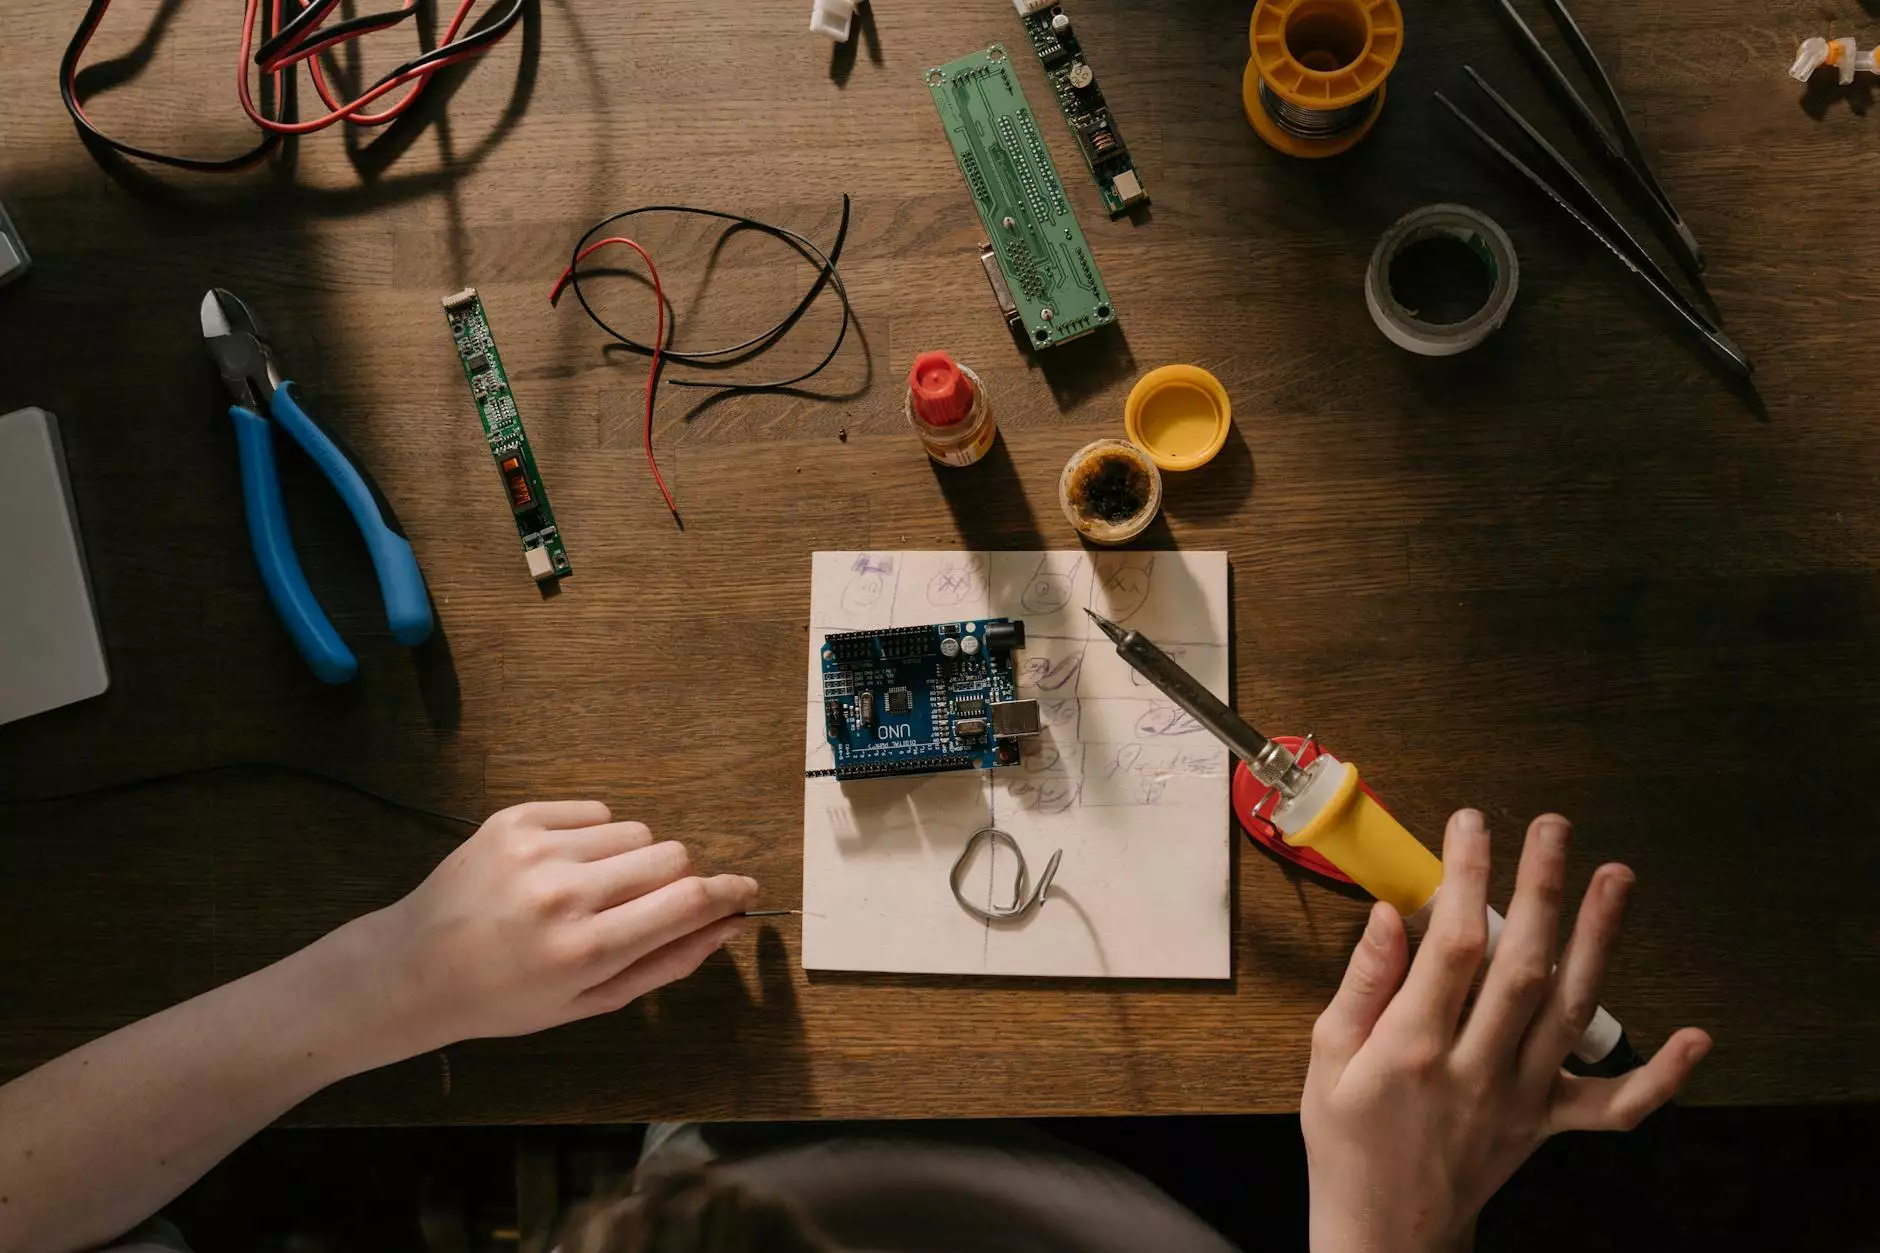
Soldering Wires to Pads With a Lap Joint
Products
Introduction
Welcome to our comprehensive guide on soldering wires to pads with a lap joint, a crucial skill for any electrical or electronic enthusiast. In this article, we will provide you with a detailed explanation of the process and walk you through the techniques and tips to achieve a strong and reliable connection.
Understanding the Lap Joint
The lap joint is a popular method used in soldering wires to pads. It involves overlapping the wire and pad, creating a larger surface area for the solder to bond. This joint design ensures a more robust connection, capable of withstanding mechanical stress and providing reliable electrical conductivity.
Required Tools and Materials
Before we dive into the process, let's gather the necessary tools and materials:
- Soldering iron with a fine tip
- Quality solder wire
- Flux or soldering paste
- Wire strippers or sharp scissors
- Clean cloth or sponge for tip cleaning
- Heat-resistant work surface
- Safety glasses or goggles
Step-by-Step Guide
Now, let's walk through the step-by-step process of soldering wires to pads with a lap joint:
Step 1: Prepare the Wire and Pad
Start by stripping off a small section of the wire's insulation, typically around 1/4 to 1/2 inch, using wire strippers or sharp scissors. Clean the wire and the pad using a cloth or sponge to remove any dirt, oxidation, or residue that might hinder proper bonding.
Step 2: Apply Flux or Soldering Paste
Apply a small amount of flux or soldering paste to the pad. This helps remove oxidation and ensures better bonding between the wire and the pad. Spread the flux evenly with a small brush or a toothpick.
Step 3: Position and Align the Wire
Place the stripped section of the wire on top of the pad, ensuring that it overlaps it completely. The lap joint works best when the wire and pad are aligned correctly. Make any necessary adjustments to ensure a snug fit.
Step 4: Heat the Joint
Now, it's time to heat the joint. Turn on your soldering iron and allow it to reach the appropriate temperature. Gently touch the tip of the soldering iron to both the wire and the pad simultaneously. The heat will transfer to the joint, melting the solder.
Step 5: Apply Solder to the Joint
Once the joint is heated, apply a small amount of solder to the connection point. Ensure that the solder flows evenly around the wire and pad, creating a solid bond. Be careful not to use excessive solder, as it may result in messy joints or short circuits.
Step 6: Inspect and Clean
After completing the soldering process, inspect the joint for any irregularities or cold solder joints. A properly soldered joint should appear shiny and smooth. If you notice any issues, gently reheat the joint and make the necessary corrections. Finally, clean the soldering iron tip on a damp sponge or cloth.
Tips for Successful Soldering
Here are some additional tips to ensure successful soldering:
- Choose a soldering iron with a suitable wattage for your project to ensure optimal heat transfer.
- Practice proper safety measures, such as wearing safety glasses or goggles, and working in a well-ventilated area.
- Maintain a steady hand and apply consistent pressure to achieve a strong and reliable joint.
- Avoid excessive heating of the joint, as it may damage the wire insulation or the components surrounding the pad.
- Consider using a helping hand or soldering station with adjustable clamps to securely hold the wire and pad in place during soldering.
Conclusion
By following the steps and tips outlined in this guide, you can confidently solder wires to pads with a lap joint. Remember to practice patience and precision, as soldering is a skill that improves with experience. With a reliable lap joint, your electrical and electronic connections will be strong, ensuring the smooth operation of your projects. Happy soldering!