TRY THIS AT HOME: Holiday Slime - Brooklyn
Blog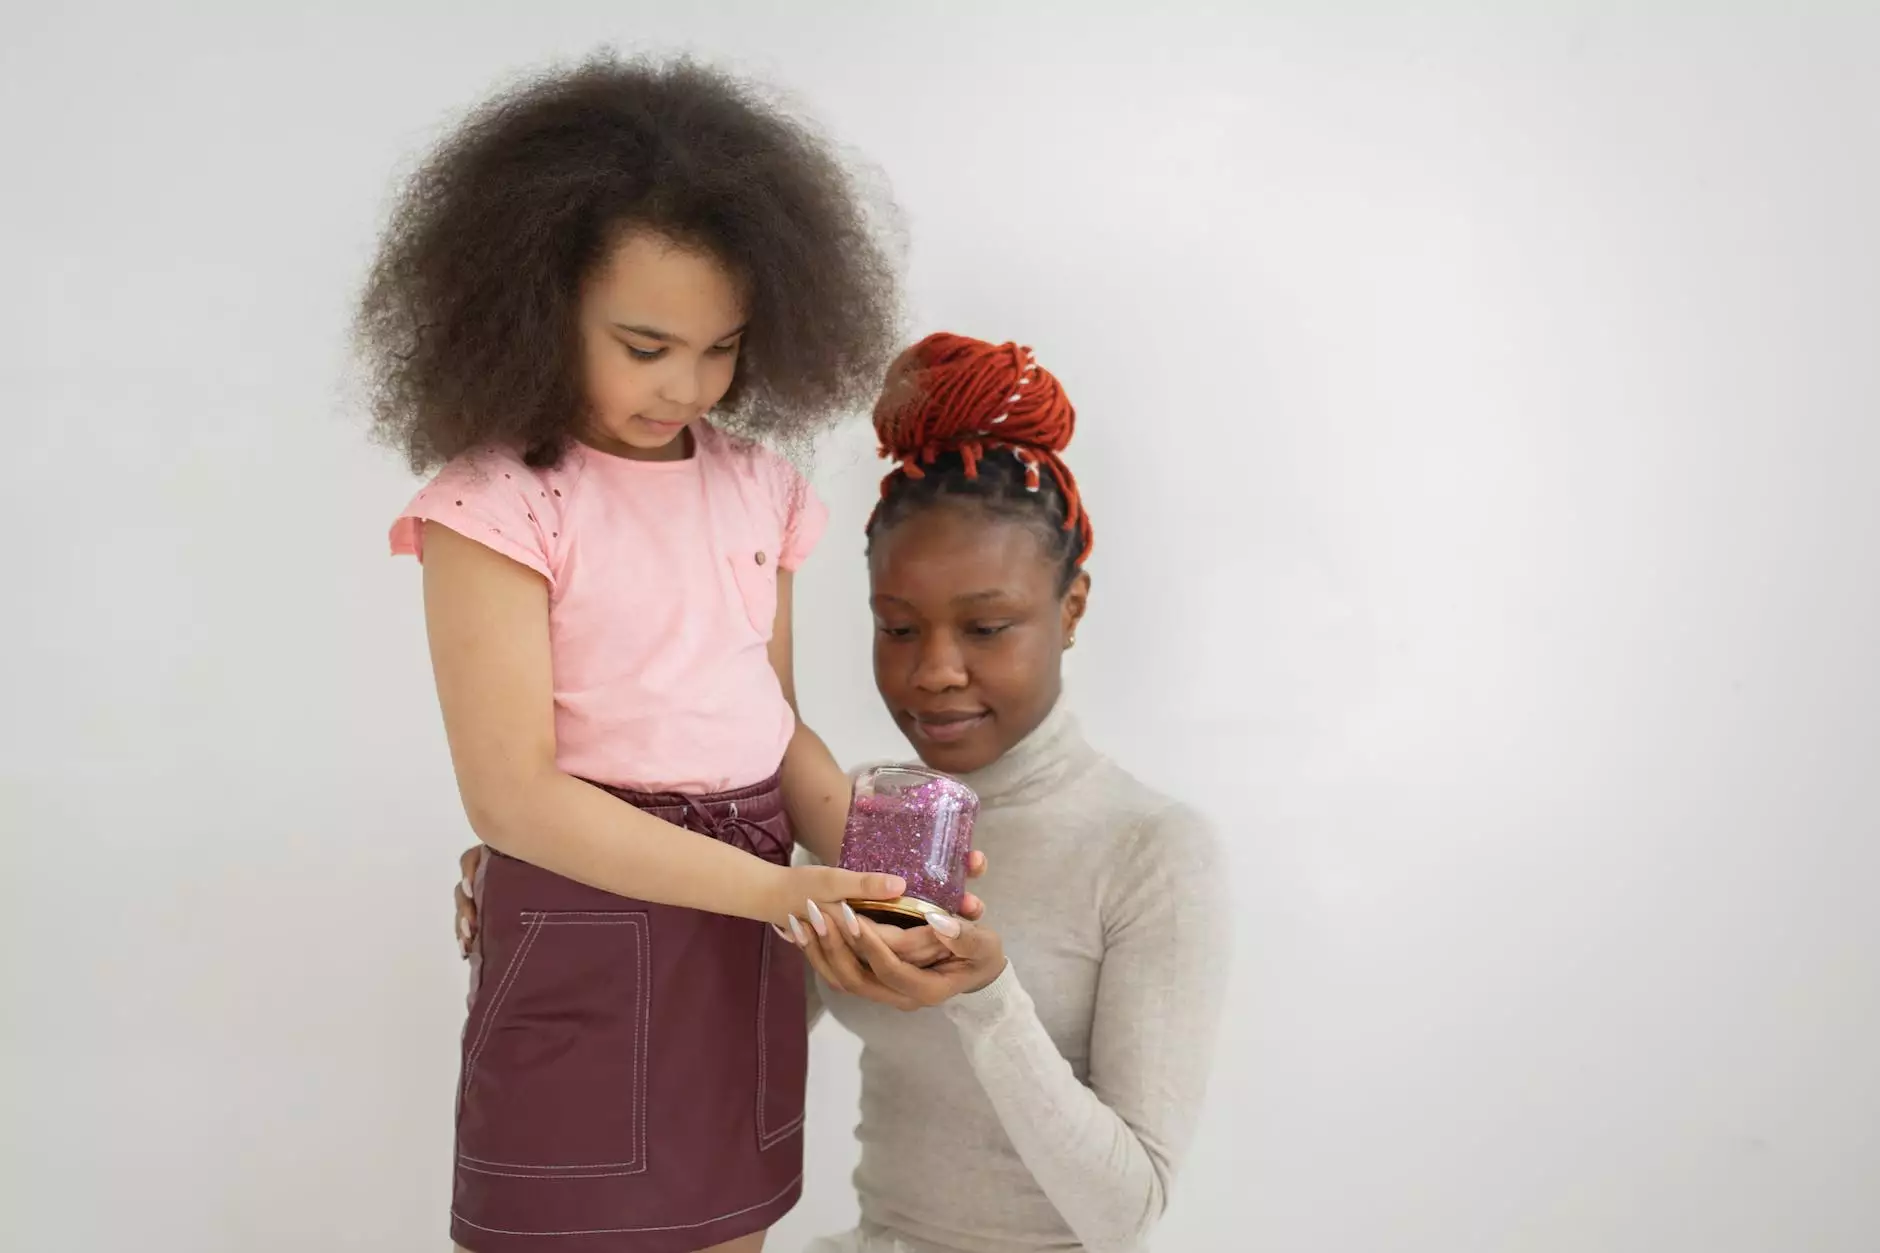
Introduction
Welcome to our blog post where we share with you an exciting and fun activity to try during the holidays - making your very own holiday slime! In this detailed guide, we will provide you with step-by-step instructions on how to create your own festive slime with simple household ingredients. Get ready to dive into a world of gooey, stretchy, and colorful slime that will keep you entertained for hours!
Why Make Holiday Slime?
Not only is making slime a popular DIY trend that has taken over social media, but it also offers numerous benefits for both children and adults. By engaging in the process of creating slime, you can develop essential skills such as fine motor skills, creativity, and sensory exploration. Plus, it's a fantastic way to keep everyone entertained and create memorable moments during the holiday season.
Ingredients
- 1 bottle of clear glue
- 1 tablespoon of baking soda
- 1 tablespoon of contact lens solution
- A variety of festive glitter
- Food coloring (optional)
- Festive themed toys or decorations (optional)
Step-by-Step Instructions
Step 1: Prepare Your Work Area
Before you start creating your holiday slime, ensure that your work area is clean and well-prepared. Lay down some newspapers or a plastic tablecloth to protect your surface from any potential mess.
Step 2: Mixing the Glue
Start by pouring the entire bottle of clear glue into a large mixing bowl. If you want to add some color to your slime, now is the time to mix in a few drops of your chosen food coloring. Stir well to ensure the color is evenly distributed.
Step 3: Adding the Baking Soda
Add 1 tablespoon of baking soda to the glue mixture and stir until the baking soda is fully incorporated. This ingredient helps to create the slimy texture that makes slime so much fun!
Step 4: Introducing the Contact Lens Solution
Add 1 tablespoon of contact lens solution to the bowl and continue stirring. As you mix, you will notice the slime starting to form. Keep stirring until it reaches a stretchy consistency.
Step 5: Incorporating Glitter
Now is the time to add some sparkle to your holiday slime! Sprinkle a generous amount of festive glitter into the bowl, adjusting the quantity based on your desired level of shimmer. Mix well until evenly distributed.
Step 6: Kneading and Enjoying
Once your slime is mixed, take it out of the bowl and start kneading it with your hands. As you knead, the slime will become less sticky and more pliable. Continue kneading until you achieve the perfect texture.
Now it's time to have fun! You can stretch, squeeze, and shape your holiday slime to your heart's content. Get creative and add festive themed toys or decorations to make it even more special.
In Conclusion
Making holiday slime is a fantastic activity that combines creativity, sensory play, and holiday spirit. By following our step-by-step guide, you can easily create your own festive slime from the comfort of your home. Remember to have fun, experiment with different colors and glitter, and make memories with your loved ones. Get ready to dive into a gooey and mesmerizing world of holiday slime!